Need to reset the Chrome browser to default settings? If Chrome is acting up and you want to troubleshoot the browser, or you just want to start fresh, you can easily reset Chrome settings to the original defaults.
Resetting Chrome can be a helpful troubleshooting technique if you find that the Chrome browser experience is not performing well, if something is wrong, or if the browser has been hijacked by junkware pages, pop-ups, and other rubbish.
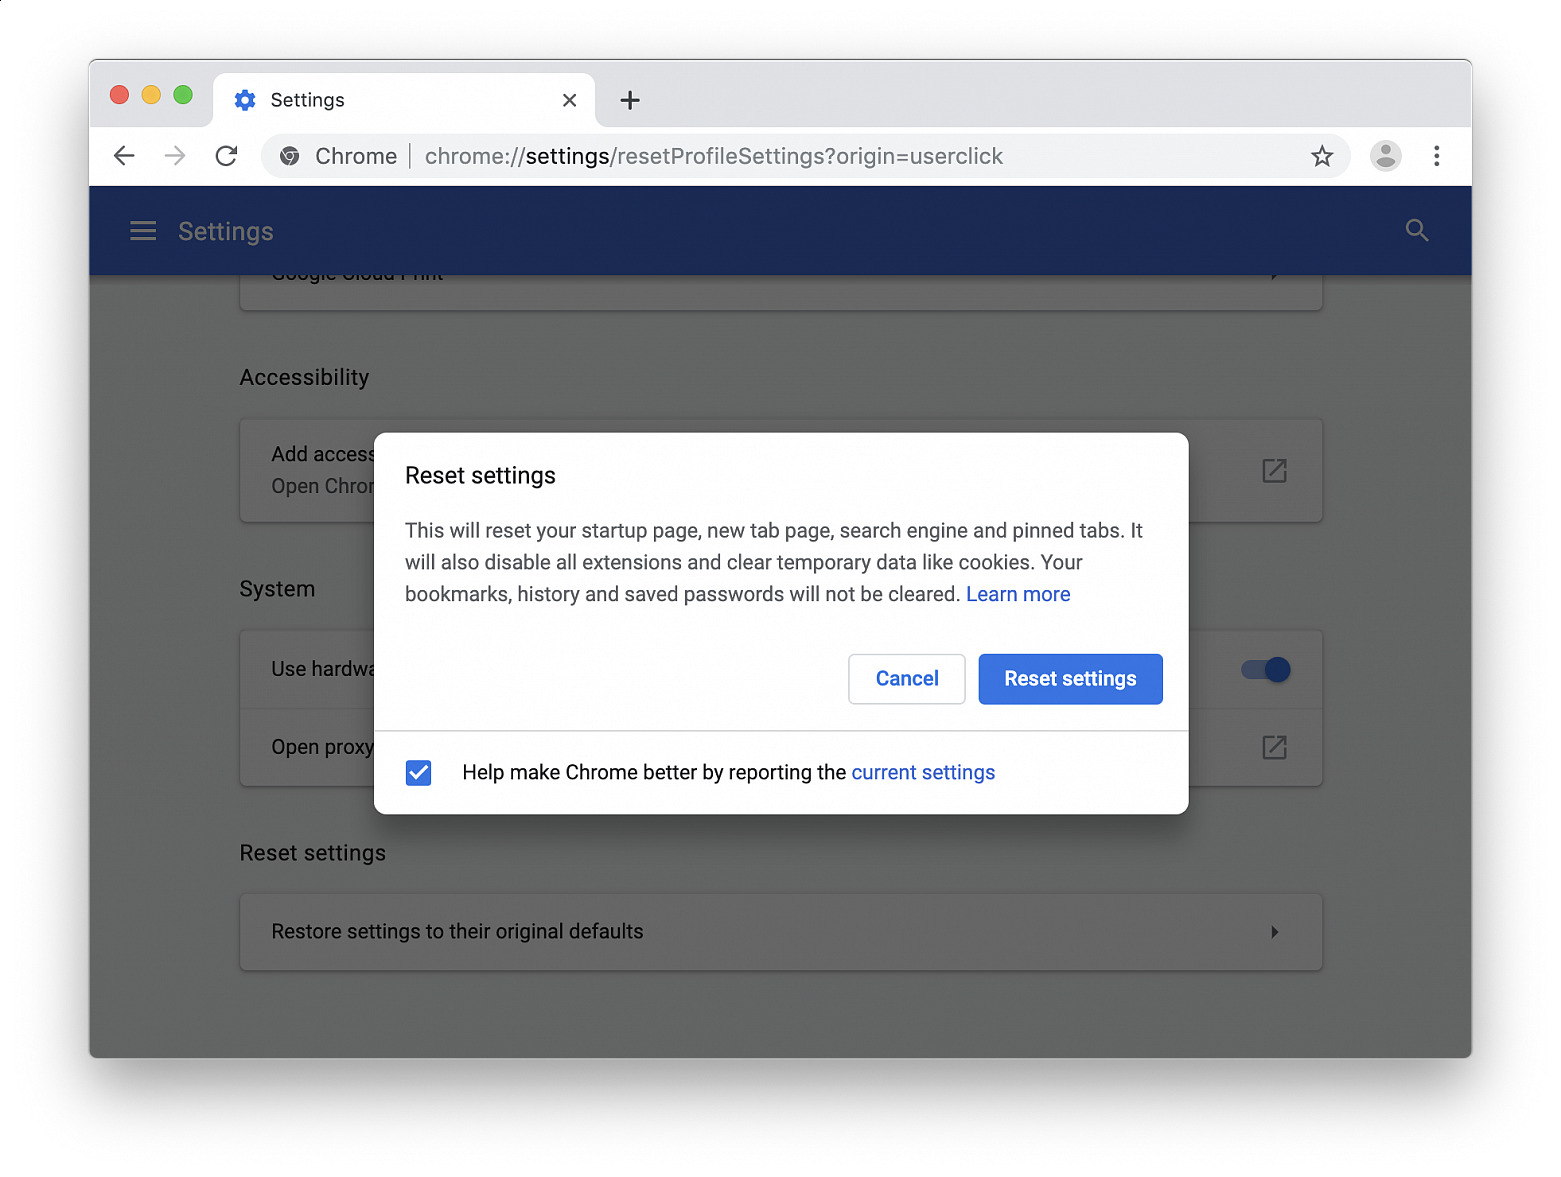
Resetting Chrome settings will reset everything about the browser to its default state settings, as if it were freshly installed and not configured. This means any startup home page customizations, tab settings, search engine, pinned tabs, etc will all be reset. Additionally, any and all Chrome browser extensions will be disabled, and all temporary data like caches and cookies will be cleared.
Resetting Chrome does not clear out bookmarks, history, auto-fill suggestions, or saved passwords.
• Open the Chrome browser to a new browser window
• Click on the dots icon button in the upper right corner, then choose “Settings”
• Scroll to the bottom of the Settings and click on “Advanced” to show more
• Scroll down to find “Reset Settings” and click on “Restore settings to their original defaults”
• Confirm that you want to reset Chrome settings by clicking “Reset settings”
Resetting Chrome can take a moment or two depending on how you have Chrome configured, if you have any (or many) Chrome extensions installed, and other factors including the speed of the computer you’re resetting the Chrome browser on.
Once Chrome has been reset, it’s probably a good idea to update the browser too, then quit, and then relaunch the app. You might also want to manually update extensions you plan on using. Doing this insures that Chrome web browser and its extensions are up to date with the latest version and with the latest features and security updates.

Wireless interference can cause Wi-Fi and Bluetooth devices to disconnect or perform poorly. Bluetooth enabled keyboards and mice may not pair or connect consistently, or audio from Bluetooth enabled earphones or speakers may be choppy, but you can take steps to reduce or overcome it.
Any of these symptoms could be caused by interference affecting the Wi-Fi or Bluetooth signal:
• Device doesn't connect or stay connected
• Connection is slow and signal strength is low
• Bluetooth audio skips, stutters, cuts off, or has static or buzzing
• Pointer movement is erratic or jumpy
These general steps can help achieve a cleaner, stronger wireless signal:
• Bring your Wi-Fi device and Wi-Fi router closer together. Bring the Bluetooth devices that are connecting to each other closer together.
• Avoid using your wireless devices near common sources of interference, such as power cables, microwave ovens, fluorescent lights, wireless video cameras, and cordless phones.
• Reduce the number of active devices that use the same wireless frequency band. Both Bluetooth and Wi-Fi devices use the 2.4 GHz band, but many Wi-Fi devices can use the 5 GHz band instead. If your Wi-Fi router supports both bands, it might help to connect more of your Wi-Fi devices to the 5GHz band. Some dual-band routers manage this for you automatically.
• Configure your Wi-Fi router to use a different Wi-Fi channel, or have it scan for the channel with the least interference. Most routers perform this scan automatically on startup or when reset.
If you're using USB 3 devices with your computer, you can limit their potential to interfere with nearby wireless devices:
• Use a high-quality, shielded USB cable with each USB 3 device.
• Move your USB 3 devices—including any USB hubs—farther away from your wireless devices.
• Connect USB 3 devices to the ports farthest from your computer's Wi-Fi antenna. For example, if your computer has ports on the back, prefer the USB ports closest to the middle. If your computer has ports on the side, prefer the USB ports closest to the front.
• Turn off any USB 3 devices that aren't in use.
Avoid physical obstructions in the path of your wireless signal. For example, a metal surface between your Bluetooth mouse and computer could cause the mouse to perform poorly, and a metal-reinforced concrete floor between your Wi-Fi router and Wi-Fi device could cause poor Wi-Fi performance.
• Low interference potential: wood, glass, and many synthetic materials
• Medium interference potential: water, bricks, marble
• High interference potential: plaster, concrete, bulletproof glass
• Very high interference potential: metal
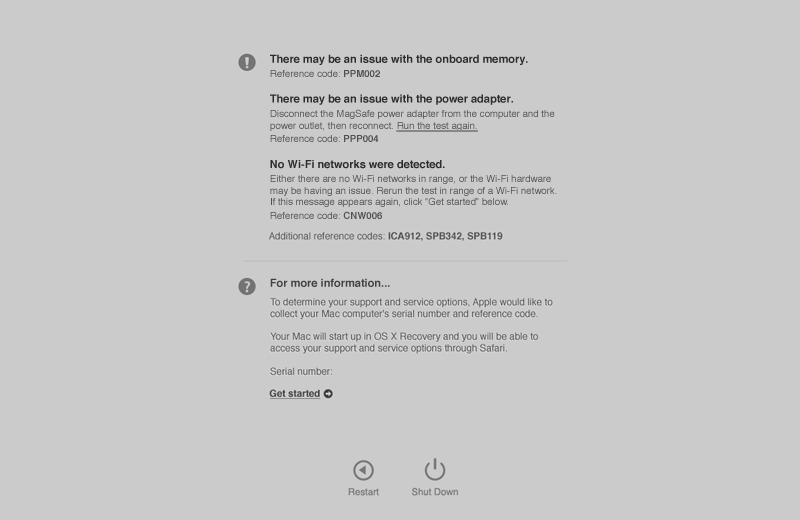
Apple Hardware Test (AHT) contains a suite of diagnostics that will test the hardware of your computer. It's a great way to rule out a hardware issue when troubleshooting your computer.
To start up your computer in AHT:
• Shut down your computer
• Press and hold the D key
• Press the power button to turn on your computer
Computers that shipped with OS X Mountain Lion (or later versions of OS X/macOS) support the use of AHT over the Internet. These computers will start up to an Internet-based version of AHT if the hard drive does not contain AHT. An Internet-enabled connection via Ethernet or Wi-Fi is required to use this feature. To start up to an Internet-based version of AHT:
• Shut down your computer
• Press and hold Option (Alt) and D
• Press the power button to turn on your computer
If the Apple Hardware Test indicates that the RAM memory is faulty you should be able to find instructions on how to replace it in your computer’s manual without voiding the warranty. However, if the problem is related to any other component the only option is usually to hand over the computer to Apple.

There is a whole jungle of apps out there that show you the status of your computer in the menu bar, on your desktop or in the Dock, but did you know that the best tool of them all comes with macOS?
Activity Monitor is an application that allows you to monitor exactly what is going on with your computer at all times by showing you how much memory, cpu, network and disk space is currently being used. It can also show you which application is using the resources and it allows you to quickly kill a process that is going haywire or has stopped responding.
The handiest feature of all is that it can show the status in the Dock so that you can quickly see if something has gone wrong and prevent crashes. Open up Activity Monitor (in Utilities inside Applications), then select the type of information you want from the View, Dock Icon menu. To make the most of this we’d recommend setting Activity Monitor to automatically launch when you log in. This is done by right clicking the icon in the Dock and choosing Options, Open at Login.
Keeping Activity Monitor in the Dock also has all sorts of unexpected benefits, for example it is very handy if you feel that your computer is getting slow. Most Macs that are kept in good shape can live for many years and still be as fast as the day they were purchased. The key to this? Keep an eye on the memory usage.
If all the memory is being used up soon after booting up your computer macOS will start using the hard drive to give you more memory than what is physically available (this is called swapping). The catch is, swap memory is much much slower than real RAM memory so you will notice this by feeling that the computer gets much slower. The solution? Use Cocktail to purge inactive memory (System > Memory), try cleaning up the applications that run in the background or install more memory.
Activity Monitor can also help you debug other problems. Battery life is directly dependent on how much load there is on the processor so if the battery in your laptop doesn’t last as long as you expect, have a look at how the processor is being used. Generally, to get anywhere near Apple’s specified battery life you should be around 10-20% usage so if the processor is averaging more than that some process is draining your battery.
In the old days you could reset a login password via a Mac's OS X installer disc. But with no such discs, what to do?
To reset a login password in OS X Mountain Lion or later, restart the Mac and hold down Command-R to boot into the Recovery HD partition. From the Utilities menu, choose Terminal to open it. In Terminal type:
resetpassword
and press Return.
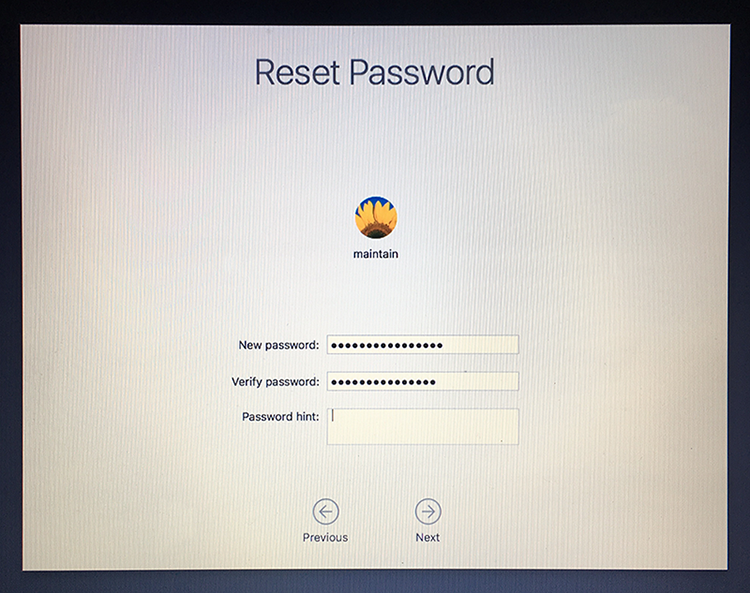
In macOS Sierra and macOS High Sierra, an Reset Password assistant will launch. Choose the user account or admin account you want to reset the password for. Enter a new password, confirm the new password, set (if you like) a password hint and then click on "Next" to set the new password for the account in question. Choose to "Restart" the Mac and when the Mac boots up, use the newly reset password to login to the computer.
In OS X Mountain Lion, OS X Mavericks, OS X Yosemite and OS X El Capitan, a Reset Password window will appear that will list all the bootable volumes attached to your Mac. Select the volume that contains the account you want to reset and choose the user name that needs its password reset. Enter and verify a new passwords in the appropriate fields and, if you like, enter a password hint. Click Save and the new password is applied to the account.


