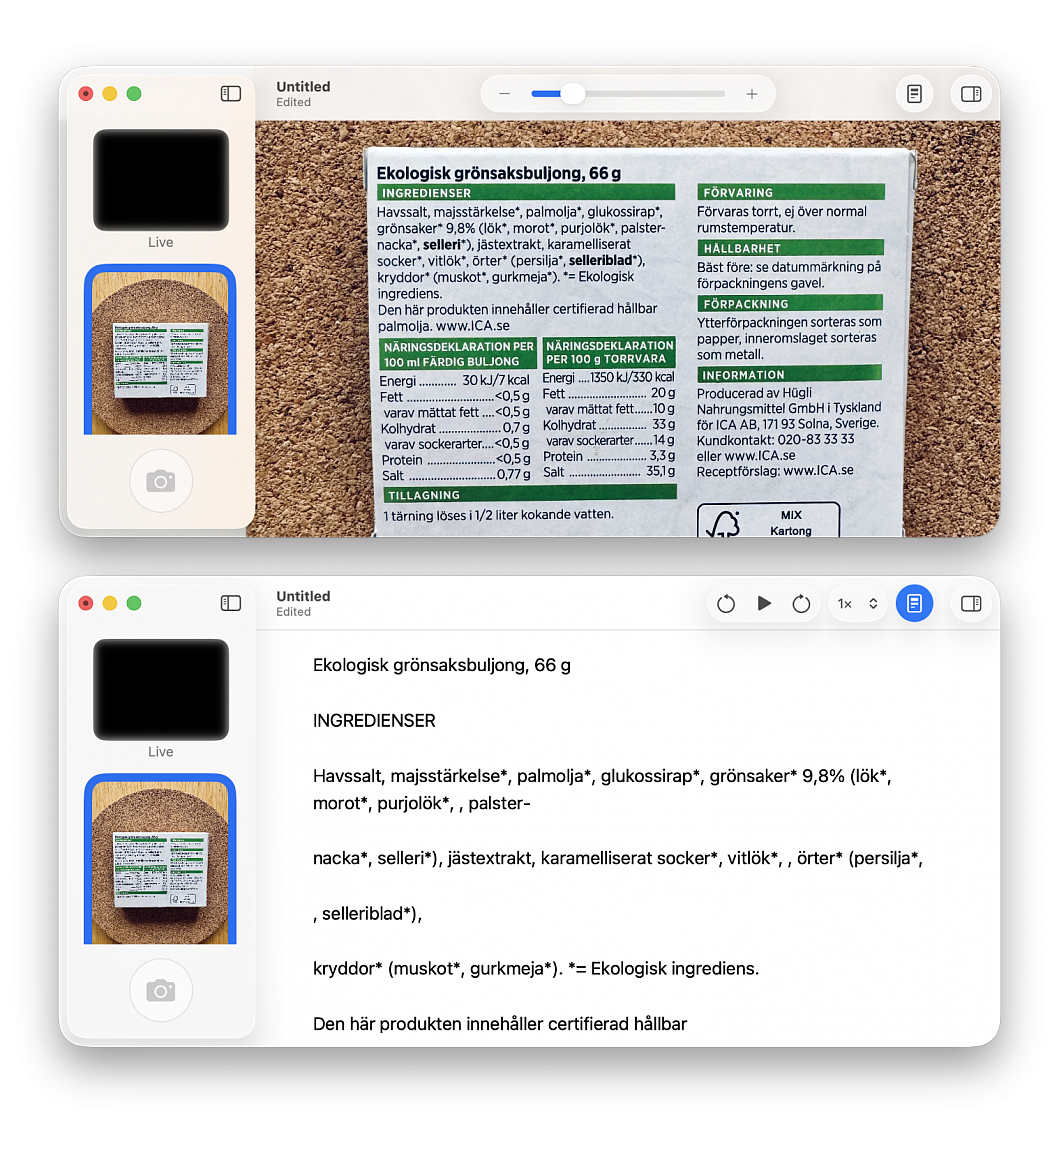
Magnifier app in macOS Tahoe lets you zoom in on small text on objects, things in your surroundings, or your face when applying makeup, plucking eyebrows, or putting on contact lenses.
Fundamentally, the Magnifier app on both macOS and iOS serves as a digital magnifying glass, you can:
• See a live camera feed and zoom in on it
• Take a picture and zoom in on it
• Use themes, filters, and other handy tools to better see the live camera feed or the picture
• Listen to the text after taking a picture or just by pointing the camera around the object
Open the Magnifier app on your Mac, click Camera in the top menu bar and select an available webcam, such as your MacBook’s internal camera. You’ll now see a live camera feed. Unless you’re using this to apply makeup or view a stable item like a whiteboard, the live camera feed may be too shaky. In this case, it makes more sense to take a picture using the shutter button and select it to read the contents. Use the minus-plus slider at the top to zoom in on the live camera feed or the picture you took. Once you have zoomed in on your live camera feed or photo, use the three-finger drag to move around and focus on just the specific part you want.
Other things you can do:
• Use the "Show detected text" icon to see text in the live camera feed or a photo
• Listen to text, adjust its playback speed, and click the sidebar icon in reader mode to change the theme, color, font, spacing, and more
• Use the sidebar icon to straighten the view, change the contrast and brightness, or apply filters; these can help you view text and other things more clearly (you can also save these preferences as your default settings, so you don’t have to adjust them every time)
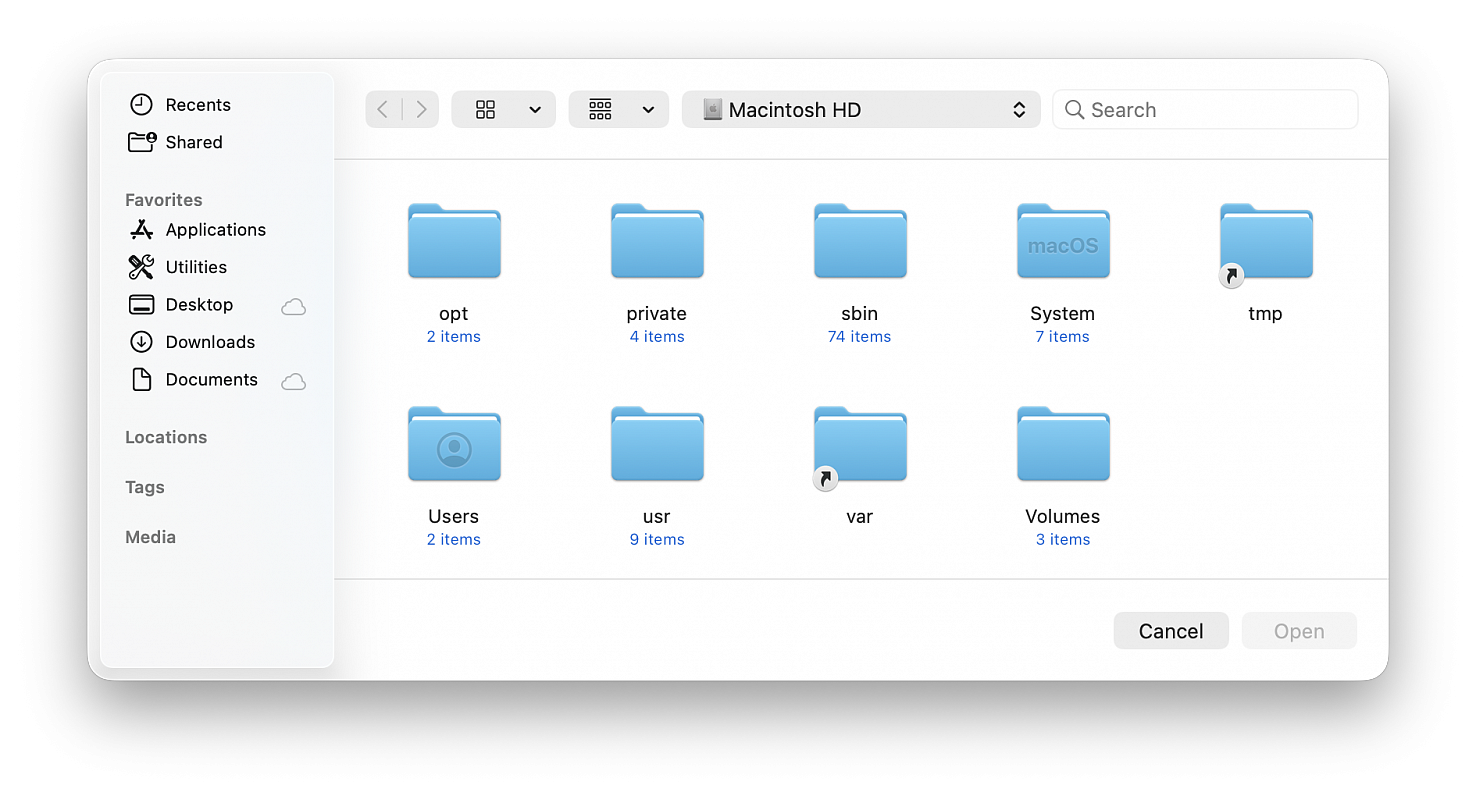
The next time you end up in an Open or Save dialog window, try out a few of these helpful keyboard shortcuts to make navigating around the dialog and filesystem much faster.
Command+D
Selects Desktop as the destination.
Command+Shift+H
Sets the Home directory as the destination.
Command+Shift+A
Sets Applications directory as the destination.
Command+Shift+.
Toggle invisible items.
Command+Shift+G
Bring up Go To Folder window.
Command+R
Open the selected item in the Finder.
Command+F
Move the cursor to the Find field.
Command+.
Close the Open/Save dialog window.
Spacebar
View the selected item in Quick Look.
Tab
Tab key auto-completes paths and file names from the aforementioned Go To Folder window.
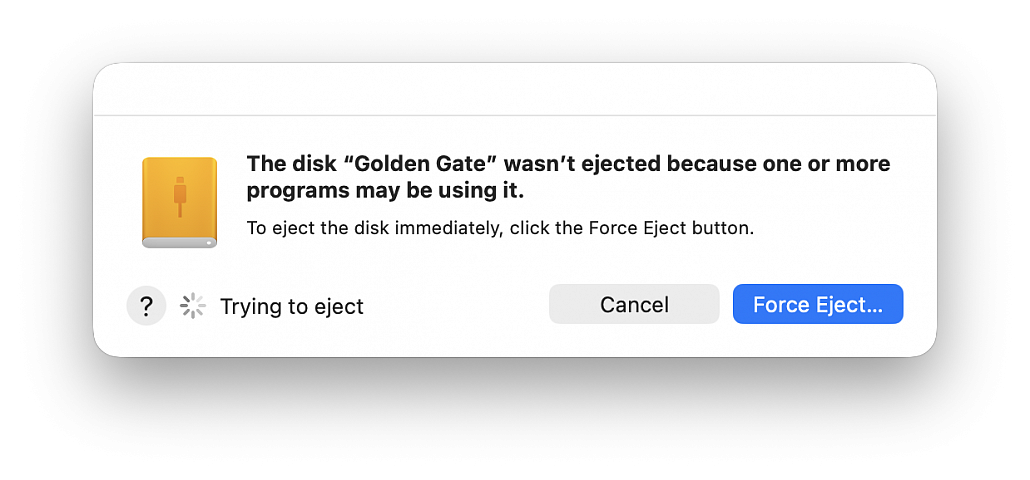
Sometimes, an external drive, disk image, or other mounted volume refuses to leave macOS of its own free will.
When using macOS, you certainly know if you’ve opened a Pages file or are editing an email. But, below the surface are files that macOS uses that you don’t see all the activity required for background processes, Time Machine backups, Spotlight indexing, and other system needs. When you want to eject a mounted volume, like a volume on an external SSD or hard drive, you can run afoul of macOS’s hidden needs.
You can try to eject a volume normally in these ways:
• Select it in the Finder and press Command-E
• Select it in the Finder and choose File > Eject
• Control-click/right-click the volume in the Finder and choose Eject
If you’re lucky, when you try to eject a volume, you will see a message with specific details, such as: The disk "My Photos" couldn't be ejected because "Adobe Photoshop 2024" is using it. Quitting Adobe Photoshop will let you eject “My Photos”, but if there’s something happening at a system level, you will see a message worded like this: The disk "My Photos" wasn’t ejected because one or more programs may be using it. You can try to eject the disk again or click Force Eject to eject it immediately. Cancel and Force Eject buttons are part of the dialog, and a progress spinner appears next to the phrase “Trying to eject.”. That does not help resolve the situation. Here’s what you can do to narrow down the problem:
Close Finder windows. As odd as it seems, sometimes merely having a window open in the Finder that shows the contents of the volume or a folder on it may make the Finder believe that a “program” is using that mounted item. Close the Finder window and try again.
Remove the volume from Spotlight. I’ve found that Spotlight can sometimes seize hold of a volume and mark it as unejectable even when indexing isn’t actively in process on that volume. You can check if that’s the problem by going to Apple menu > System Settings... > Siri & Spotlight, scrolling down to the bottom of the view, and clicking Spotlight Privacy. Drag the volume into the window (or click + and navigate to it, then add it), and click Done. This immediately removes the volume from indexing. Try to eject now. If it works, that was the problem. However, if you want to search items on that volume, you will need to remove it from Spotlight Privacy later.
Check if Time Machine is backing up. If Time Machine is actively backing up the volume, you may be unable to eject it. Check the status of Time Machine either through its system menu or by going to Apple menu > System Settings... > General > Time Machine. If it’s underway, you can choose Skip This Backup from the Time Machine system menu or click the “x” box next to the active session in the System Settings view and wait for Time Machine to wind down. You can exclude the volume from Time Machine by using the settings view: click Options, click the + (plus) sign at the bottom of Exclude from Backups, and add the volume while mounted. Click Done.
Shut down. For a physically connected external volume, choose Apple menu > Shut Down. When your Mac is completely shut down, unplug the SSD or HDD. Press the power button on your Mac to start up. For a “logically” mounted volume, such as a disk image or networked volume, choose Apple menu > Restart. On restart, the volume should be unmounted by default. If not, immediately select it and use an eject option listed above, which should now work.
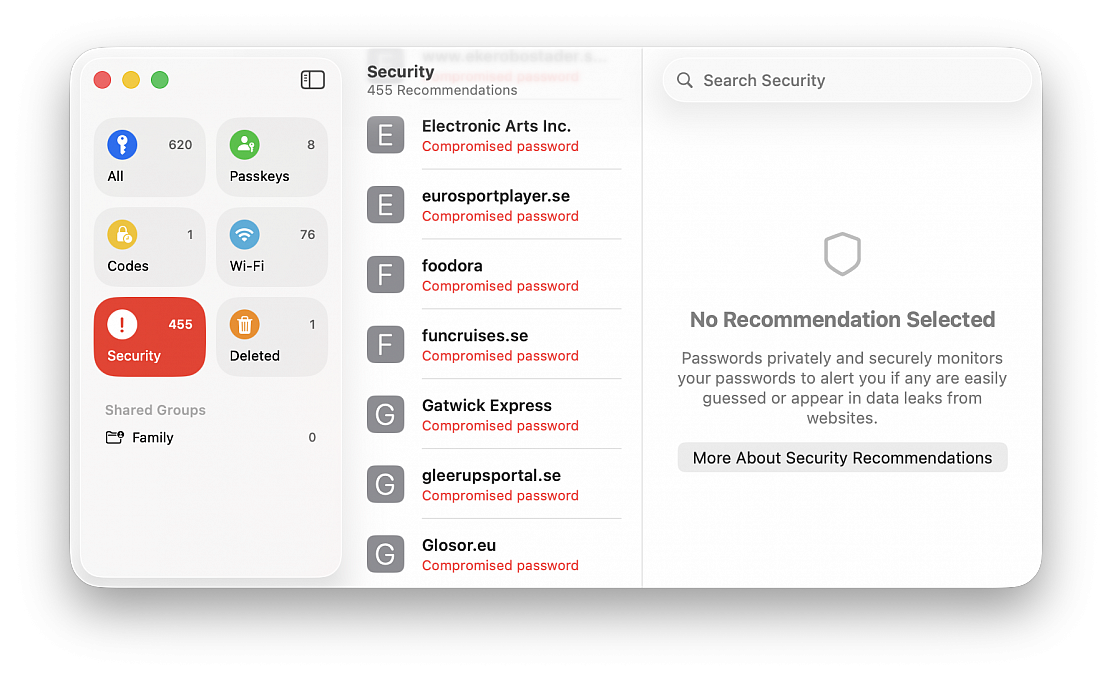
The Passwords app, Apple’s built-in password manager, not only stores your logins and passwords for easy authentication, but it can also alert you to security risks. Passwords app makes it easy to quickly find compromised, reused, or weak passwords, and take action to secure your accounts.
If you’re a Passwords app user and you haven’t investigated this on your own yet, it’s a worthwhile endeavor to do so. It makes it easy to determine if you should be changing a password that has been compromised without your knowledge (and that’s usually the case, since data breaches happen all the time and they can be hard to keep track of).
You can review password security warnings and compromises directly within the Passwords app on Mac:
• Hit Command+Spacebar to open Spotlight, type “Passwords” and hit return to launch Passwords app
• Authenticate within the passwords app as requested, with password or Touch ID
• Click on Security
The Passwords app categorizes issues to help you prioritize fixes into several categories:
Compromised Passwords
These passwords have appeared in known data breaches, and these are high priority for security. Since the password has been compromised, it should be changed immediately. This feature uses Apple’s integration with breach data sources, similar to services like Have I Been Pwned, to detect compromises from various sources. Many users who store the majority of their passwords in Passwords.app and iCloud will find results in the section, often for things like online retailers, that you may not have even known had a security breach.
Reused Passwords
This means the same password has been used across multiple accounts. Basically this poses a security risk because if one account is compromised, all others are now at risk since they use the same passwords. It’s best practices to use a unique password for each individual login and site, which is also why the random strong password generating feature of Passwords.app is so powerful, and useful.
Easily Guessed / Weak Passwords
These passwords are easy to guess, or don’t meet modern security standards. Any shorter or simpler basic passwords would qualify under this list, for example if you use the password “password123” for a password, it would probably appear as a weak and easily guessed password. Stronger passwords are longer and more complex with mixed characters. Any weak password should be replaced by a stronger alternative.
If you do see a problem to address, like a compromised password (or several, as is often the case), you can click on “Change Password” for the flagged account, and it will typically take you to the website whenever available, that you can update and change the password with that specific service. You’ll then want to save the new password with Passwords app, so that you can use it easily in the future, and so that Passwords app can check it for data breaches too.
With Passwords app, you can help to monitor security of your account credentials, and reduce your risk across multiple platforms. And because it’s built directly into macOS, iOS, and iPadOS, there’s no need for a third party app or service. This is a simple way to improve your account security and internet presence, and so it’s worth opening the Passwords app and taking a look at the Security section from time to time.
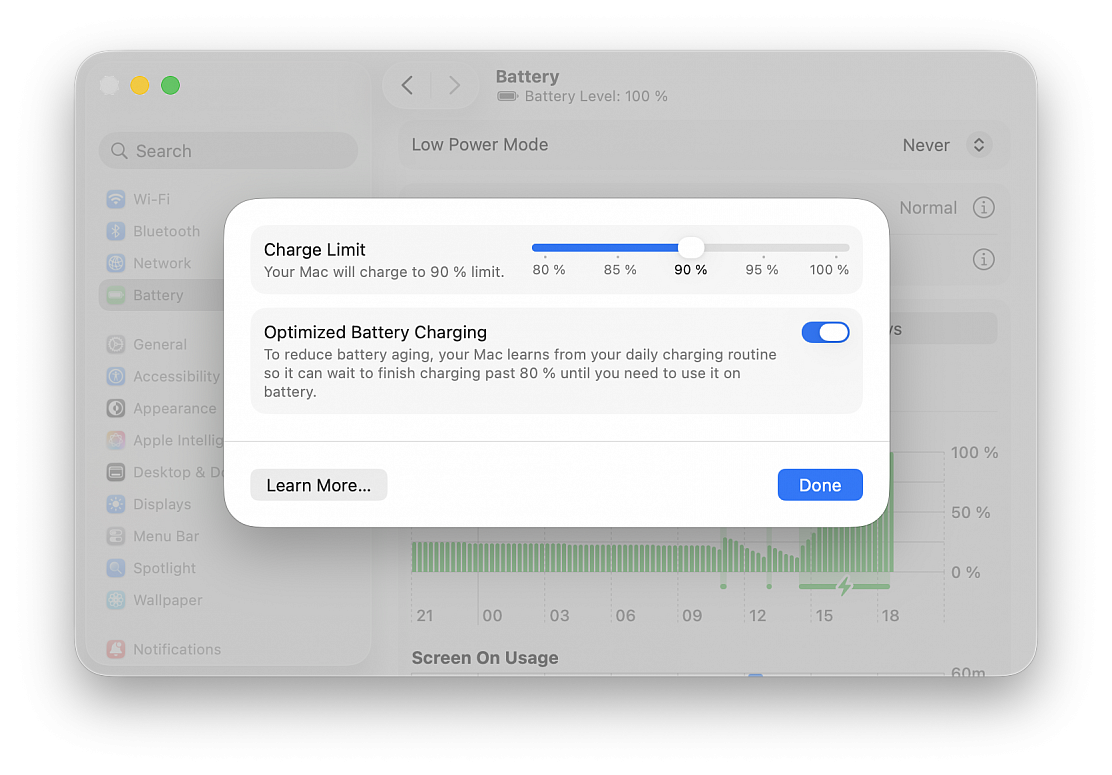
To improve the lifespan of your battery, Optimized Battery Charging allows your Mac to learn from your daily charging routine so that it can delay completing a full charge in certain situations. And with Charge Limit, you can limit what your Mac considers a full charge.
A battery’s lifespan is related to its chemical age, which is more than just the length of time since the battery was assembled. A battery's chemical age results from a complex combination of factors, including temperature history and charging pattern. All rechargeable batteries are consumable components that become less effective as they chemically age. As lithium-ion batteries chemically age, the amount of charge they can hold diminishes, resulting in reduced battery life and reduced peak performance.
Optimized Battery Charging is designed to reduce the wear on your battery and improve its lifespan by reducing the time that your Mac spends fully charged. It uses on-device machine learning to learn your daily charging routine so that it can delay charging past 80% in certain situations, such as when it predicts that your Mac will be connected to power for an extended period of time. Optimized Battery Charging aims to ensure that your Mac is fully charged by the time it expects you to need a full charge. To limit what your Mac considers a full charge, on macOS Tahoe 26.4 or later, you can also set a Charge Limit (see below).
When charging past 80% is delayed by this feature, "Charging On Hold" appears in the battery status menu. If you need your Mac to be charged to 100% sooner, choose "Charge to Full Now" from the menu.
To turn this feature off or on, use the Optimized Battery Charging setting in Battery settings. For example, in macOS Ventura 13 or later:
• From the Apple menu , choose System Settings
• Click Battery in the sidebar
• Click the info button next to Charging (or Battery Health)
• Turn Optimized Battery Charging off or on (when you turn it off, you can choose whether to turn it off only until tomorrow)
• Click Done
Whether using Optimized Battery Charging or Charge Limit, your Mac will occasionally charge to 100% to maintain accurate battery state-of-charge estimates.
Use Charge Limit to set a limit on what your Mac considers a full charge. Your Mac will charge to within a few percentage points of the charge limit, then stop charging and show "Charged to [%] Limit" in the battery status menu. If the battery charge level drops more than 5% while connected to power, charging resumes, again charging to within a few percentage points of the limit.
If your Mac is charged to the limit but you need it to be charged to 100%, choose "Charge to Full Now" from the battery status menu.
To set a charge limit:
• From the Apple menu , choose System Settings
• Click Battery in the sidebar
• Click the info button next to Charging
• Choose a Charge Limit setting between 80% and 100%
• Click Done