macOS offers a super simple and fast way to convert images, directly from the Finder. Thanks to the handy Quick Actions feature, Mac users are able to convert any images from anywhere in the Finder, with just a few clicks.
This is a powerful and useful feature that is often overlooked. Here’s how it works:
• From Finder, locate the image you want to convert
• Right-click, control-click, or two-finger click on the image you wish to convert, and go to “Quick Actions” and then select "Convert Image" from the menu
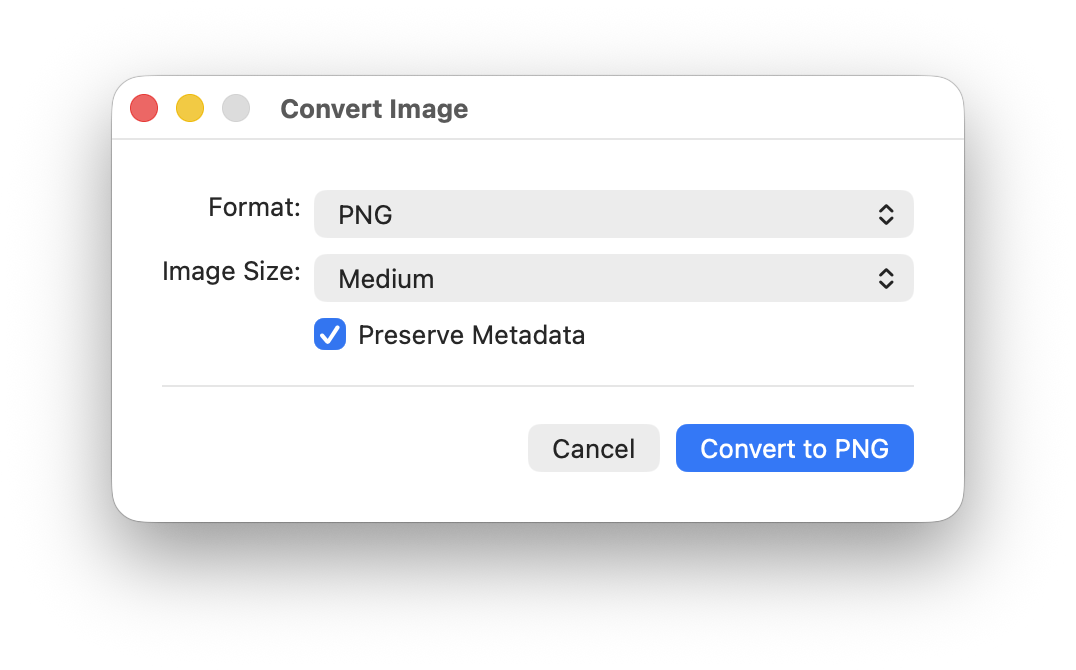
• Select the file format type you wish to convert the image to and select the image size (choose "Actual Size" if you do not want to resize the image), choose whether or not you wish to preserve metadata, then click on the "Convert" button
The image will convert almost instantly and appear in the same folder with the same file name as the origin image. This Quick Action image conversion tool is super fast and powerful, but is limited to JPG, PNG, and HEIF/HEIC formats. If you wish to convert to additional image file formats, you will have to use Preview.
Whether you're feeling the pinch as hard drive space runs low or you're just wondering where all your disk space went, it's easy to find large files in macOS by using the built-in search tools.
Here's what to do:
• From the macOS Desktop, open any new Finder window
• Hit Command+F to bring up Search
• Click on "Kind" filter and select "Other", then select "File Size" from the attribute list
• Click on the second filter and choose "is greater than"
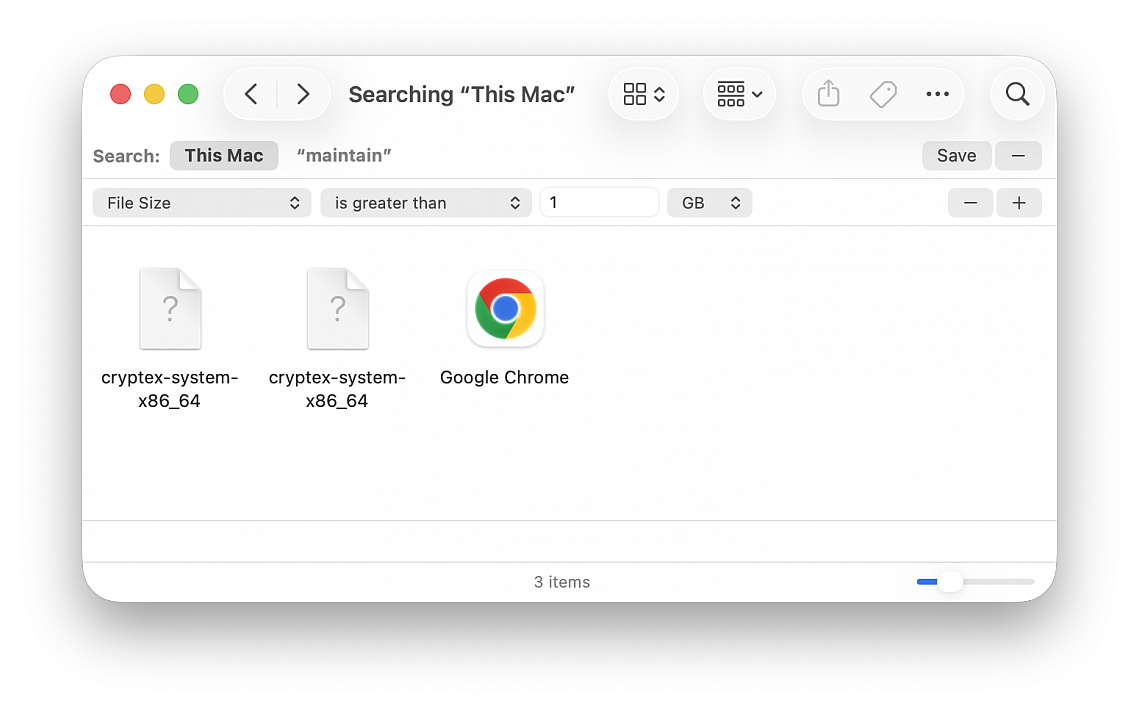
• In the third space, enter the size to search for anything greater than (ex: 100) and choose either MB or GB as the final filter
The file and app list below will automatically update as anything larger than the specified file size is found on the hard drive. Be sure that "This Mac" is selected if you're getting limited results, though you can also use the search limiters to find large files contained within single folders or user directories.
Want to use this feature to track down large files often? Click on the "Save" button in the upper right corner and you'll turn the File Size search into a Smart Folder that can be easily accessed from the sidebar for easy future retrieval, plus that folder will constantly be updated with large files only, making it a very useful way to instantly find any big item laying around on a Mac.
A common pit of enormous files is the user Downloads folder, when using the file size search don't be surprised if you run into a fair amount of .dmg and .zip files sitting idly in there that have long been forgotten.
In macOS Mojave or later, the Finder includes Quick Actions that make it easier to perform quick edits to files without having to open the apps associated with them. In the default set that Apple includes with every macOS install, there's a very handy Quick Action that allows you to remove the background from a selected image or photo.
The feature lifts the subject out of the picture and turns it into a PNG file, which makes the background transparent. The Quick Action works best on images with a clearly defined subject in the foreground, like a person or object, set against a fairly uniform background.
To use the Remove Background feature in macOS, simply right-click an image file in Finder, hover your cursor over the Quick Actions submenu, then click Remove Background.
Wait for the image to be processed, and you should soon see a transparent PNG version of the file appear in the same location as the original image, titled "[original filename] Background Removed.png.".

Stationery Pad is a handy way to nix a step in your workflow if you regularly use document templates on your Mac. The long-standing Finder feature essentially tells a file's parent application to open a copy of it by default, ensuring that the original file remains unedited. Almost any file type can be defined as a template with Stationery Pad – it could be used to streamline common Photoshop jobs, create skeleton HTML/CSS files, or help with Word document invoicing.
To take advantage of it, right-click (Ctrl-click) the file that you want to use as a template, select Get Info, then check the Stationery Pad checkbox under the General section. Lastly, click the red traffic light button to close the Get Info window. Next time you double-click the template file, Finder will automatically create and open a copy of it, leaving the original untouched.
Stationery Pad doesn't get much attention these days, but it's a neat alternative to repeatedly editing templates and using the "Save As..." command, which can lead to overwriting the original file if you're not too careful.

When browsing files on your Mac in the Finder’s list view, you’ll notice that the Size column only shows a pair of dashes instead of actual folder sizes. This is the default setting because calculating folder sizes takes time and can make the Finder less responsive. Thankfully, you can change this behavior with a few clicks.
Set the Finder to display folder sizes on a Mac:
• Open the Finder and click a location in the sidebar or navigate to any folder on your Mac
• Press Command + J or click View > Show View Options in the menu bar
• Tick the box next to “Calculate all sizes” and macOS will display folder sizes in the Size column
• Click the "Use as Defaults" button and close the inspector window
Don’t see the Size column? Follow these steps if the Size column is missing in the Finder:
• Open a new Finder window and click View > As List in the menu
• Right-click the Name column below the window toolbar and check the Size option. While at it, uncheck any other Finder columns you don’t need
If the Size column still won’t show up, the Finder window is too narrow to display all columns. Simply move the pointer to a side of any column so it changes to the drag pointer, then click and hold and move the column to reveal invisible columns. You can also reorder columns by dragging.
If you don’t want to always calculate folder sizes, you can always find the size of the folder by selecting it and pressing Command + I or Command-clicking it and choosing Get Info from the menu.
