macOS High Sierra contains many new features and capabilities, but APFS (Apple File System) is certainly one of the biggest changes. Changing the primary file system used by the Mac is a big deal. And like any big deal, there’s a lot to understand about how APFS will work with existing Mac apps and services, including Time Machine.
In its current incarnation, the Time Machine app is mostly compatible with APFS; that is, you can back up an APFS formatted drive using Time Machine, as well as restore files from a Time Machine backup to an APFS formatted drive. However, there are some very important caveats that Time Machine users should be aware of.
Time Machine drives must be formatted in HFS+ (a file system released with Mac OS 8.1 in 1998 and found on every version of macOS since then). Time Machine uses the magic of hard links, a feature that HFS+ file systems have to catalog and keep track of which files in a backup make up the current version of an app, document, or directory.
APFS, on the other hand, does not support hard links. When you convert an HFS+ formatted volume to APFS, any hard links found during the conversion process are automatically changed to symbolic links, thus breaking your Time Machine backup into a collection of almost useless files.
Luckily, installing macOS High Sierra won’t automatically convert Time Machine drives to APFS, but it’s possible to accidentally change the drive’s format to APFS from within Disk Utility. You’d think Disk Utility would detect the Time Machine backup and stop you, but it doesn’t. You can also convert a drive to APFS without macOS warning if you use the Finder option to encrypt a drive in High Sierra (macOS will convert the format to APFS before encrypting the drive).
If you do accidentally convert a Time Machine drive to APFS, the Time Machine app will no longer recognize the drive as a backup drive. If you select the old Time Machine drive within the Time Machine app as a backup destination, you’ll be confronted with an option to erase all of the content on the selected drive and reformat it as HFS+.
Until Apple releases a new version of Time Machine that makes use of the APFS feature set, such as snapshots to replace file linking, your Time Machine backup must remain formatted as HFS+.
macOS High Sierra is easy to install. However, we recommend a full back up before you install it.
Apple makes it very easy to back up your Mac using Time Machine, so there is no excuse not to create a Time Machine backup before installing macOS High Sierra.
Follow these steps to back up your Mac using Time Machine.
• Connect an external hard drive to your Mac. Choose a new hard drive, or one that you don't mind erasing.
• An alert may appear asking if you want to use the drive to backup your Mac. If so, Use as Backup Disk.
• If not, open System Preferences > Time Machine and click Select Backup Disk. Choose the external drive.
• Switch Time Machine to On.
• A progress bar will appear in the Time Machine system preference pane. Wait for the Time Machine backup to complete before continuing with the macOS High Sierra installation.
Follow these instructions to install the macOS High Sierra update on your Mac.
• Once you've backed up your Mac, launch the App Store (located in /Applications) and search for macOS High Sierra.
• Click Download to initiate the download, and fill out your Apple ID information if prompted. Download progress will appear in your Purchases tab.
• Once the download has finished, you'll see a macOS High Sierra installer launch. Follow the on-screen instructions to finish installing the software update, which should take around half an hour depending on the spec of your Mac.
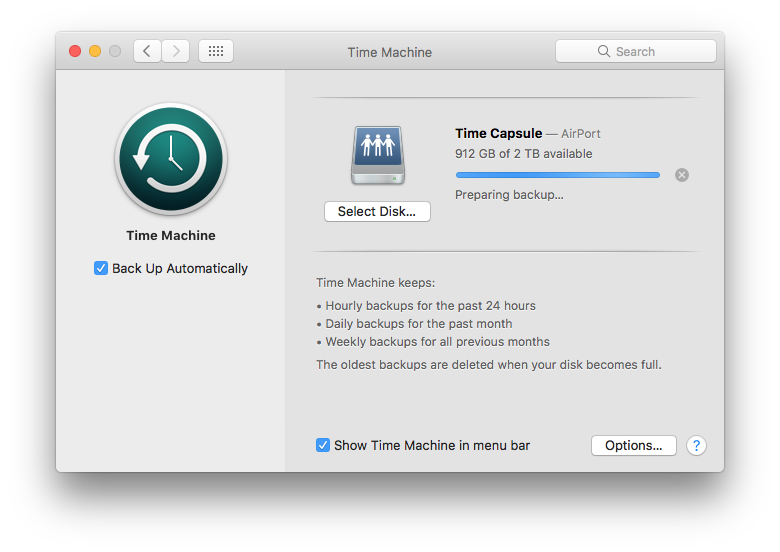
Time Machine is the simplest way to keep regular backups of a Mac. On some rare occasions though, Time Machine may get stuck on the "Preparing backup…" stage for an inordinately long amount of time, causing a backup to never start. So lets fix this specific Time Machine issue.
The first thing you need to do is cease the currently failed backup attempt:
• Open System Preferences from the Apple menu and click "Time Machine"
• Click the (x) icon on the right side of the progress bar to stop the backup attempt
When the progress bar disappears and it no longer says "Preparing backup…" you're good to begin the troubleshooting process.
• Open the Time Machine drive in the Finder and navigate to the "Backups.backupd" folder
• Open the folder within Backups.backupd that is the name of the current Mac which is stuck on preparing
• Put this directory into "List View" and sort by ‘Date Modified', or just search the folder for a file with a ".inProgress" file extension
• Delete the "xxxx-xx-xx-xxxxxx.inProgress" file. The .inProgress file is always in the form of xxxx-xx-xx-xxxxxx.inProgress, where the first 8 digits are the year-month-day (date) and the next 6 or so digits are random numbers, followed by the inProgress file extension.
• Restart your Mac
• Once rebooted, let Spotlight run completely (you can either just wait it out or watch the mdworker, mrs, and related processes in Activity Monitor). This should cause macOS to re-index the attached Time Machine drive if it's needed, which may be getting in the way of Time Machine backing up properly thus causing the computer to get stuck on "Preparing backup..." for a very long time.
• Start a back up yourself. Pull down the Time Machine icon and choose "Back Up Now". You will still see a "Preparing backup…" message but it should be gone within a few minutes, depending on the size of the hard drive, the speed of the Mac, and the size of the backup to be made. At this point, your Time Machine backup will proceed as expected, so just let it run and you're good to go again.
Despite constant encouragement these days to push our valuable data into "the cloud", there is still a genuine need for offline backups. Since its introduction in OS X Leopard, Apple has improved the Time Machine drastically. Within OS X Mavericks, Mac users can not only enjoy encryption and improved notification support but also backup disk rotation. This means that you can now choose multiple drives for Time Machine to use, and it's easy to set up!
To add extra drives to your Time Machine backup routine, do this:
• Open System Preferences from the Apple menu and click "Time Machine"
• Click "Select Disk..."
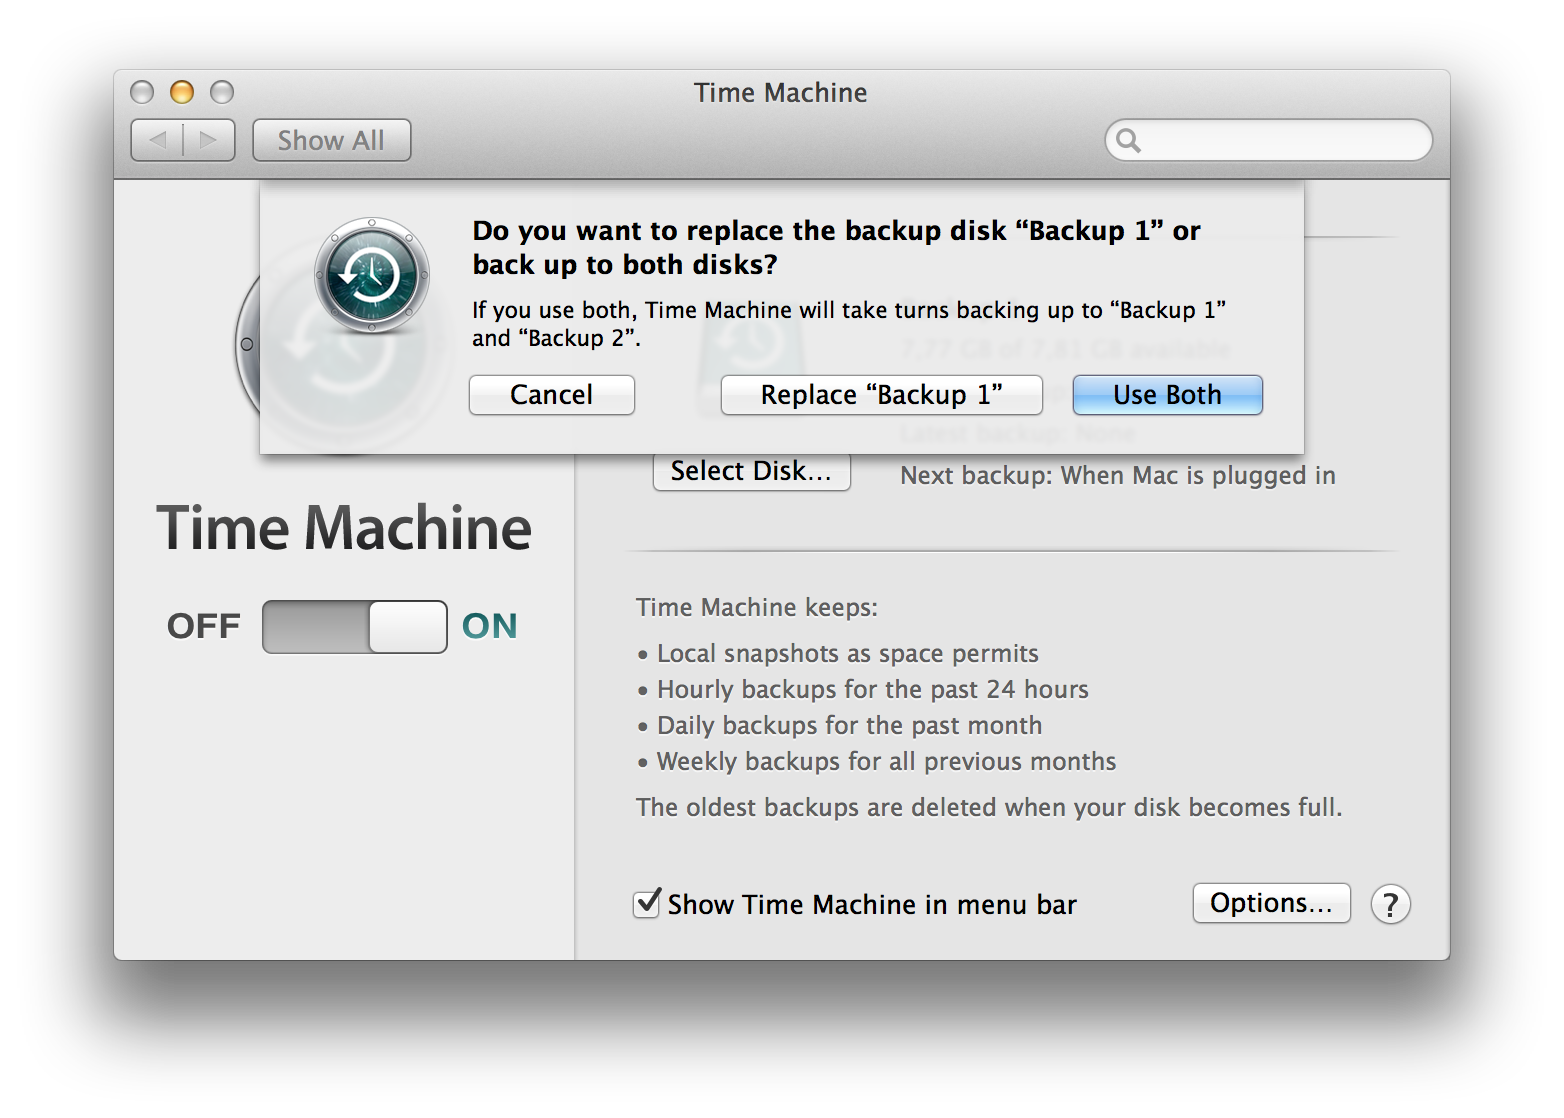
• Choose the volume you want to add to your backup routine, then click "Use Disk"
• Click "Use Both" to add the new drive to your backup schedule.
Your Mac will rotate its backup schedule to include all of the volumes you add to Time Machine, which is great because that means you can easily have separate backups at work and home simply by keeping different hard drives at each location. It's also great for automatically backing up to more than one Time Machine volume at the same location. For example, you can backup to a Time Capsule on your own network, and have a second backup on a hard drive connected directly to your Mac.
Time Machine will show you files from the volume it most recently used for backing up content. If you need to see files from a different backup location, just press the Option (Alt) key and choose "Browse Other Backup Disks..." from the Time Machine menu in the menu bar.