Backing up to multiple Time Machine drives
Posted in
Despite constant encouragement these days to push our valuable data into "the cloud", there is still a genuine need for offline backups. Since its introduction in OS X Leopard, Apple has improved the Time Machine drastically. Within OS X Mavericks, Mac users can not only enjoy encryption and improved notification support but also backup disk rotation. This means that you can now choose multiple drives for Time Machine to use, and it's easy to set up!
To add extra drives to your Time Machine backup routine, do this:
• Open System Preferences from the Apple menu and click "Time Machine"
• Click "Select Disk..."
• Choose the volume you want to add to your backup routine, then click "Use Disk"
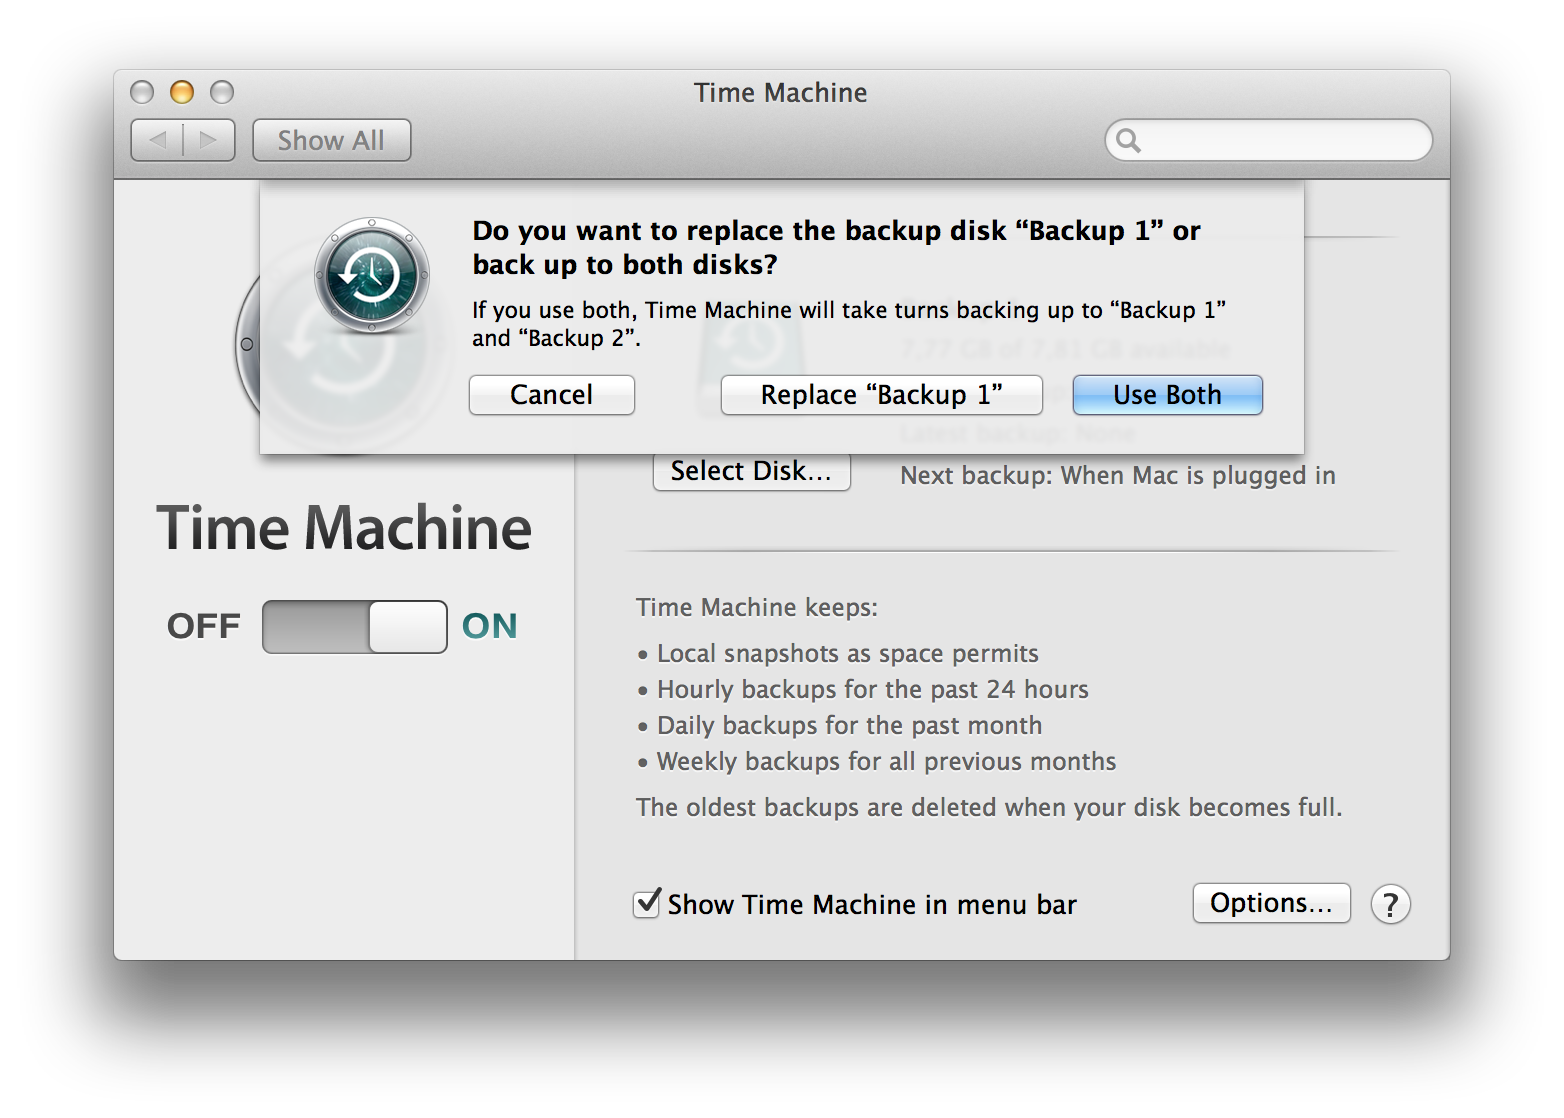
• Click "Use Both" to add the new drive to your backup schedule.
Your Mac will rotate its backup schedule to include all of the volumes you add to Time Machine, which is great because that means you can easily have separate backups at work and home simply by keeping different hard drives at each location. It's also great for automatically backing up to more than one Time Machine volume at the same location. For example, you can backup to a Time Capsule on your own network, and have a second backup on a hard drive connected directly to your Mac.
Time Machine will show you files from the volume it most recently used for backing up content. If you need to see files from a different backup location, just press the Option (Alt) key and choose "Browse Other Backup Disks..." from the Time Machine menu in the menu bar.
