Browsing history is a record of every webpage you visit. Your browser stores the URLs for every page, except when you use private browsing mode. Browsing history can help improve your browsing experience (e.g. as you start typing a URL in the address bar of your browser, previously visited URLs display in a dropdown list that match what you're typing), but it also exposes your browsing habits. If other people use your Mac from time to time, or you get family members looking over your shoulder as you surf the web, you may want to delete your browsing history on a regular basis.
You can manually clear your browsing history in Safari at any time. Two of the ways to clear all your browser history are:
• Choose "Clear History" from the Safari application menu
• Choose "Clear History" from the History menu
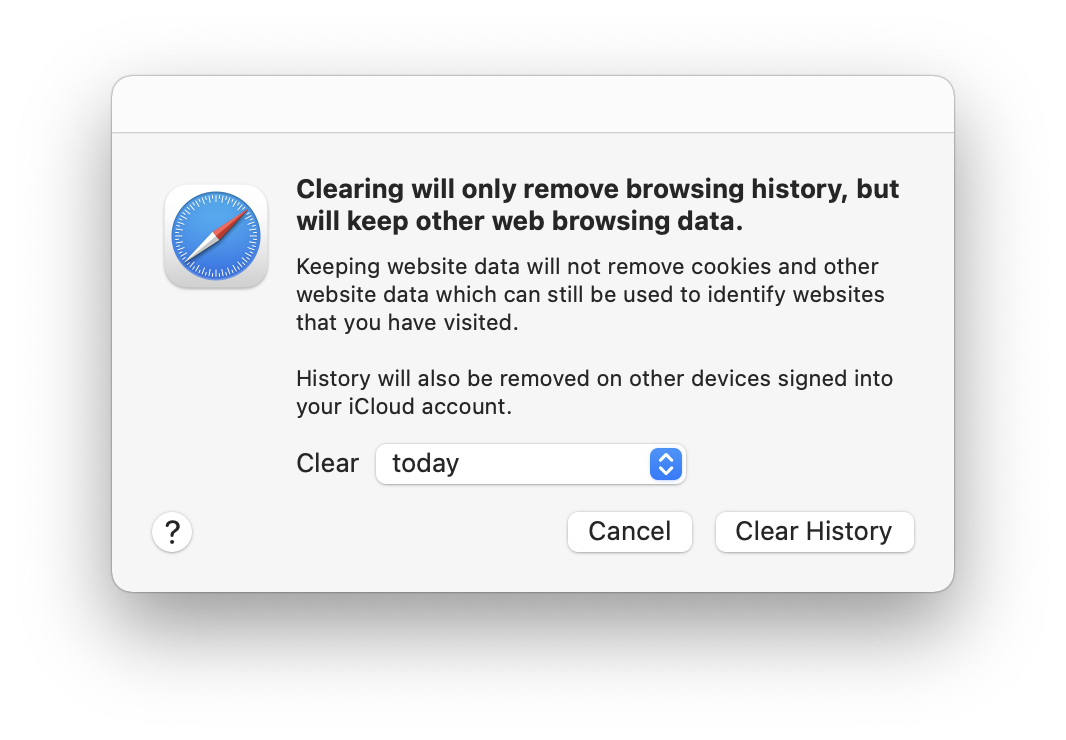
but be aware that the name "Clear History" is misleading. Clicking "Clear History" also deletes other website data, like cookies and the entire browser cache. However, there is a way to clear your browsing history without losing website data.
Simply choose the Safari or History menu, but press and hold down the Option key before selecting the "Clear History" option. You'll see the option change to "Clear History and Keep Website Data". Keep the Option key pressed and select that option.

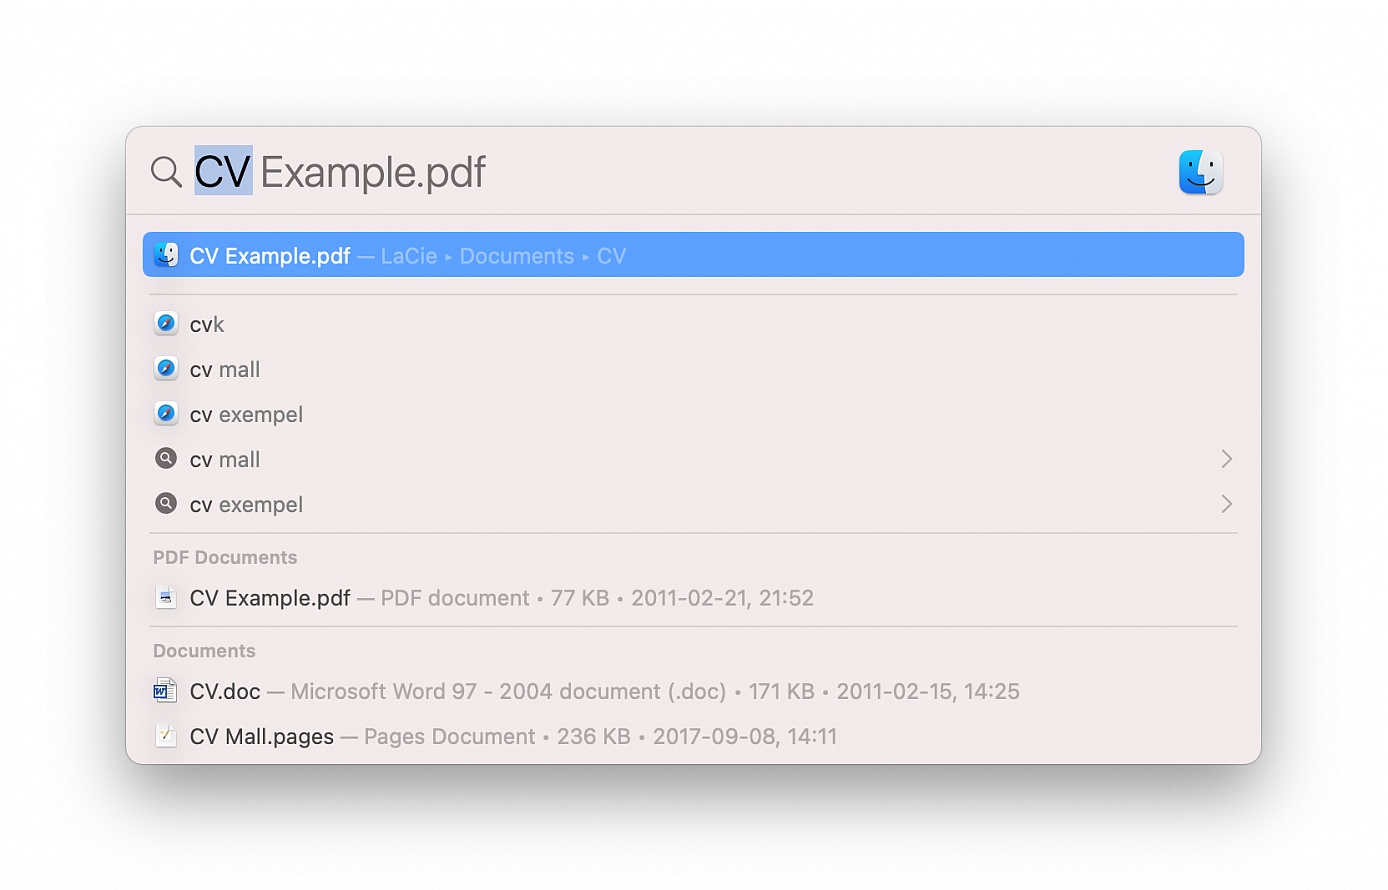
When viewing a list of results in a Spotlight search in the Finder, how do you jump to see the item in the context of its enclosing folder rather than just opening the file? The answer is simple.
Hold down Command and press the Return key or press Command-R. You can also hold down Command and double-click the item in the results list. Holding down Command by itself reveals the path to the file or folder without opening the enclosing folder.
You may already know this but if you press Command-Option-spacebar, a Finder window opens with the focus on the search field so you can just start typing.

macOS Big Sur has been out for a while now, but macOS releases never get quite as much attention as iOS releases, so there may still be some features that you're not aware of.
• AirPods Auto Switching - With macOS Big Sur and iOS/iPadOS 14, your AirPods will swap automatically to the device that you're using at the current time, with no need to manually change the device you're using them with. AirPods will work with iPhone, iPad, or Mac you're actively using and listening to audio on.
• Drag and Drop Menu Bar Icons - If you open up the Control Center, you can click and drag on any of the options to add it to the menu bar. So if you want Do Not Disturb to have a one-click menu bar toggle, just drag it to the menu bar from Control Center. This works for Now Playing, AirDrop, DND, and more.
• Enhanced Voice Memos - When you use Voice Memos in Big Sur, there's a new option to automatically reduce background noise and echo with a single click, useful when you're recording lectures or meetings.
• 4K YouTube Videos - YouTube videos can be watched in 4K HDR in macOS Big Sur because the OS supports YouTube's VP9 codec. Note that 4K YouTube options are going to be limited to newer Macs by default, but there's a trick to enable them on older Macs. Enable the Develop menu in Safari settings (Safari > Preferences > Advanced), select Experimental Features, and make sure both VP9 Decoder and VP9 SW Decoder on Battery are enabled.
• Resize Widgets - macOS Big Sur has a new widget interface, and if you right click on any widget that has sizing options, you can choose a new size.
• Silent Notifications - On any incoming notification in the Today center, if you right click you can select "Deliver Quietly." This setting will prevent future notifications from that app from popping up on your screen, but you'll see them in the notifications list.
• Message Effects - Messages in Big Sur is a lot more like the Messages app on iOS devices. You can use Message Effects to enhance messages, find GIFs and insert photos. Just click on the little "A" on the left of the text bar to see a dropdown list of the options.
• Disable Tinting - Want a Dark Mode that's even darker or a Light Mode that's brighter? That's possible if you turn off window tinting. Open up System Preferences, choose General, and uncheck "allow wallpaper tinting in windows." With this disabled, windows won't be affected by the wallpaper that you're using.
Need to reset the Chrome browser to default settings? If Chrome is acting up and you want to troubleshoot the browser, or you just want to start fresh, you can easily reset Chrome settings to the original defaults.
Resetting Chrome can be a helpful troubleshooting technique if you find that the Chrome browser experience is not performing well, if something is wrong, or if the browser has been hijacked by junkware pages, pop-ups, and other rubbish.
Resetting Chrome settings will reset everything about the browser to its default state settings, as if it were freshly installed and not configured. This means any startup home page customizations, tab settings, search engine, pinned tabs, etc will all be reset. Additionally, any and all Chrome browser extensions will be disabled, and all temporary data like caches and cookies will be cleared.
Resetting Chrome does not clear out bookmarks, history, auto-fill suggestions, or saved passwords.
• Open the Chrome browser to a new browser window
• Click on the dots icon button in the upper right corner, then choose “Settings”
• Scroll to the bottom of the Settings and click on “Advanced” to show more
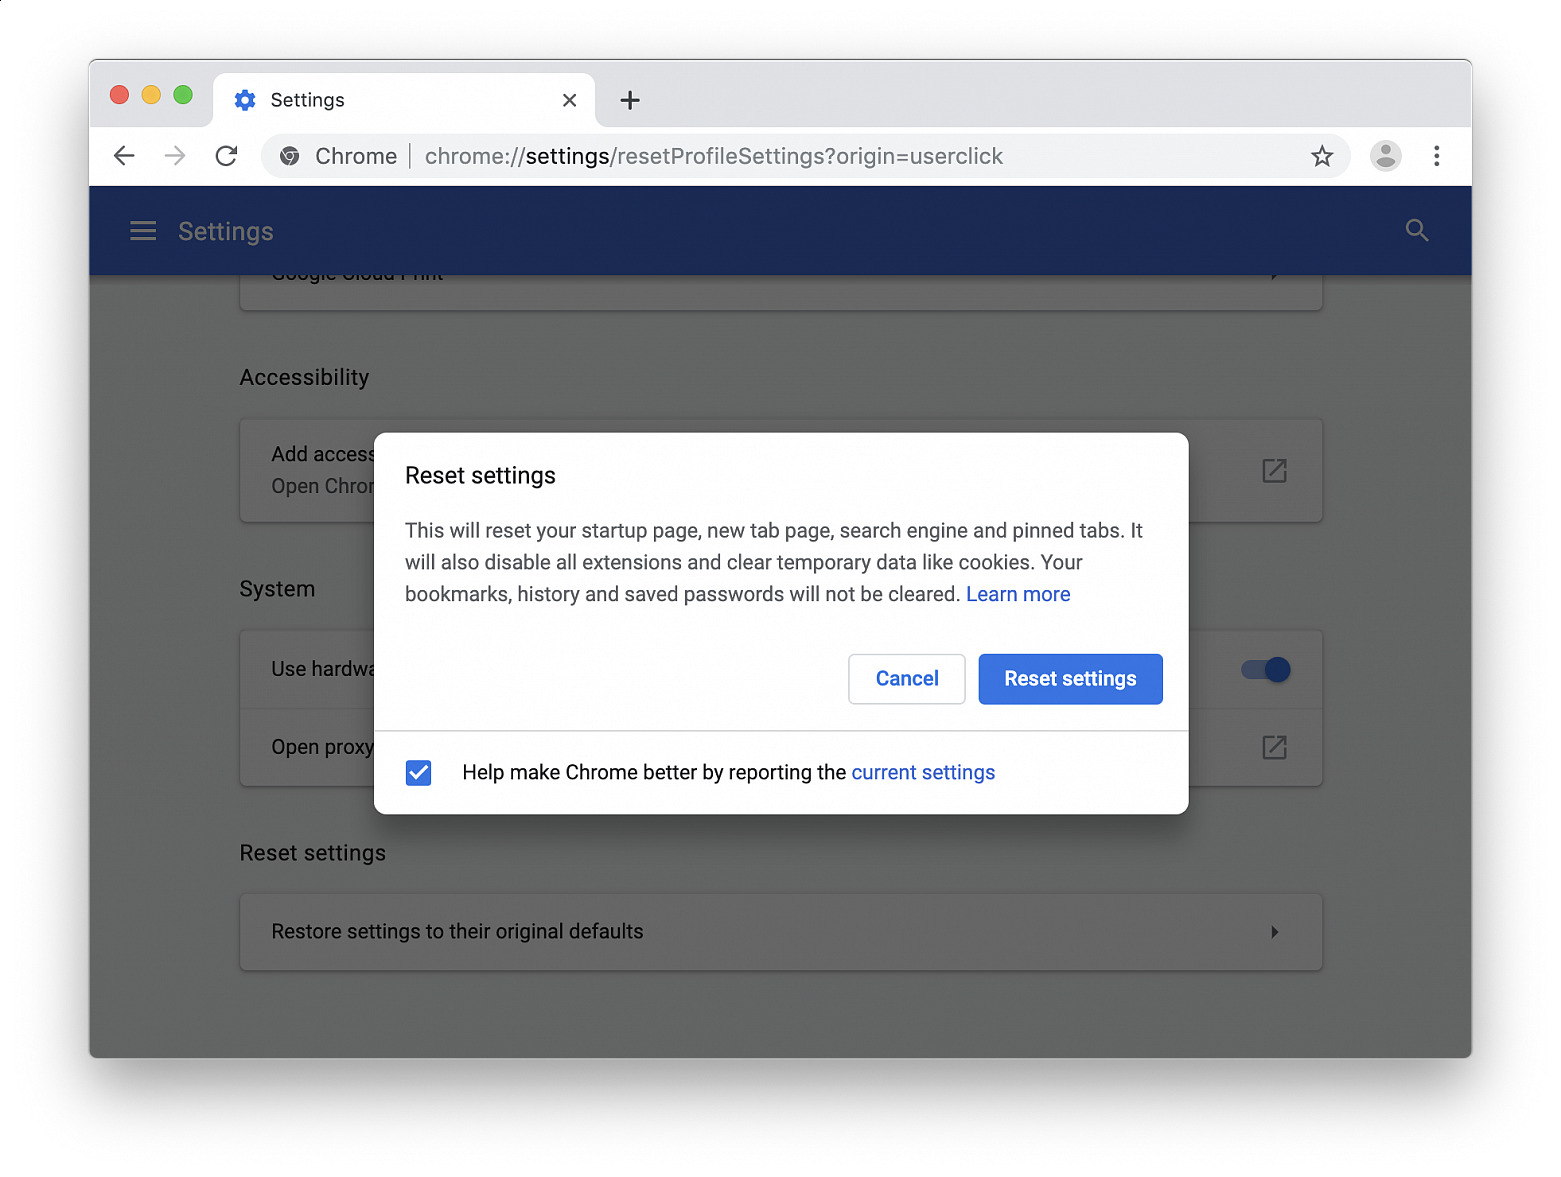
• Scroll down to find “Reset Settings” and click on “Restore settings to their original defaults”
• Confirm that you want to reset Chrome settings by clicking “Reset settings”
Resetting Chrome can take a moment or two depending on how you have Chrome configured, if you have any (or many) Chrome extensions installed, and other factors including the speed of the computer you’re resetting the Chrome browser on.
Once Chrome has been reset, it’s probably a good idea to update the browser too, then quit, and then relaunch the app. You might also want to manually update extensions you plan on using. Doing this insures that Chrome web browser and its extensions are up to date with the latest version and with the latest features and security updates.

Do Not Disturb mode is one of the best features you can use if you want to focus on a task, and not be distracted by the myriad endless notifications and alerts that pop up on the Mac. Enabling and disabling the feature with a keyboard shortcut offers a quick way to toggle the feature off or on as quick as possible and at any time.
To be able to toggle Do Not Disturb off or on by keyboard shortcut, you’ll need to enable a keyboard shortcut for it first. Here’s how to do that:
• Go to the Apple menu and select “System Preferences”
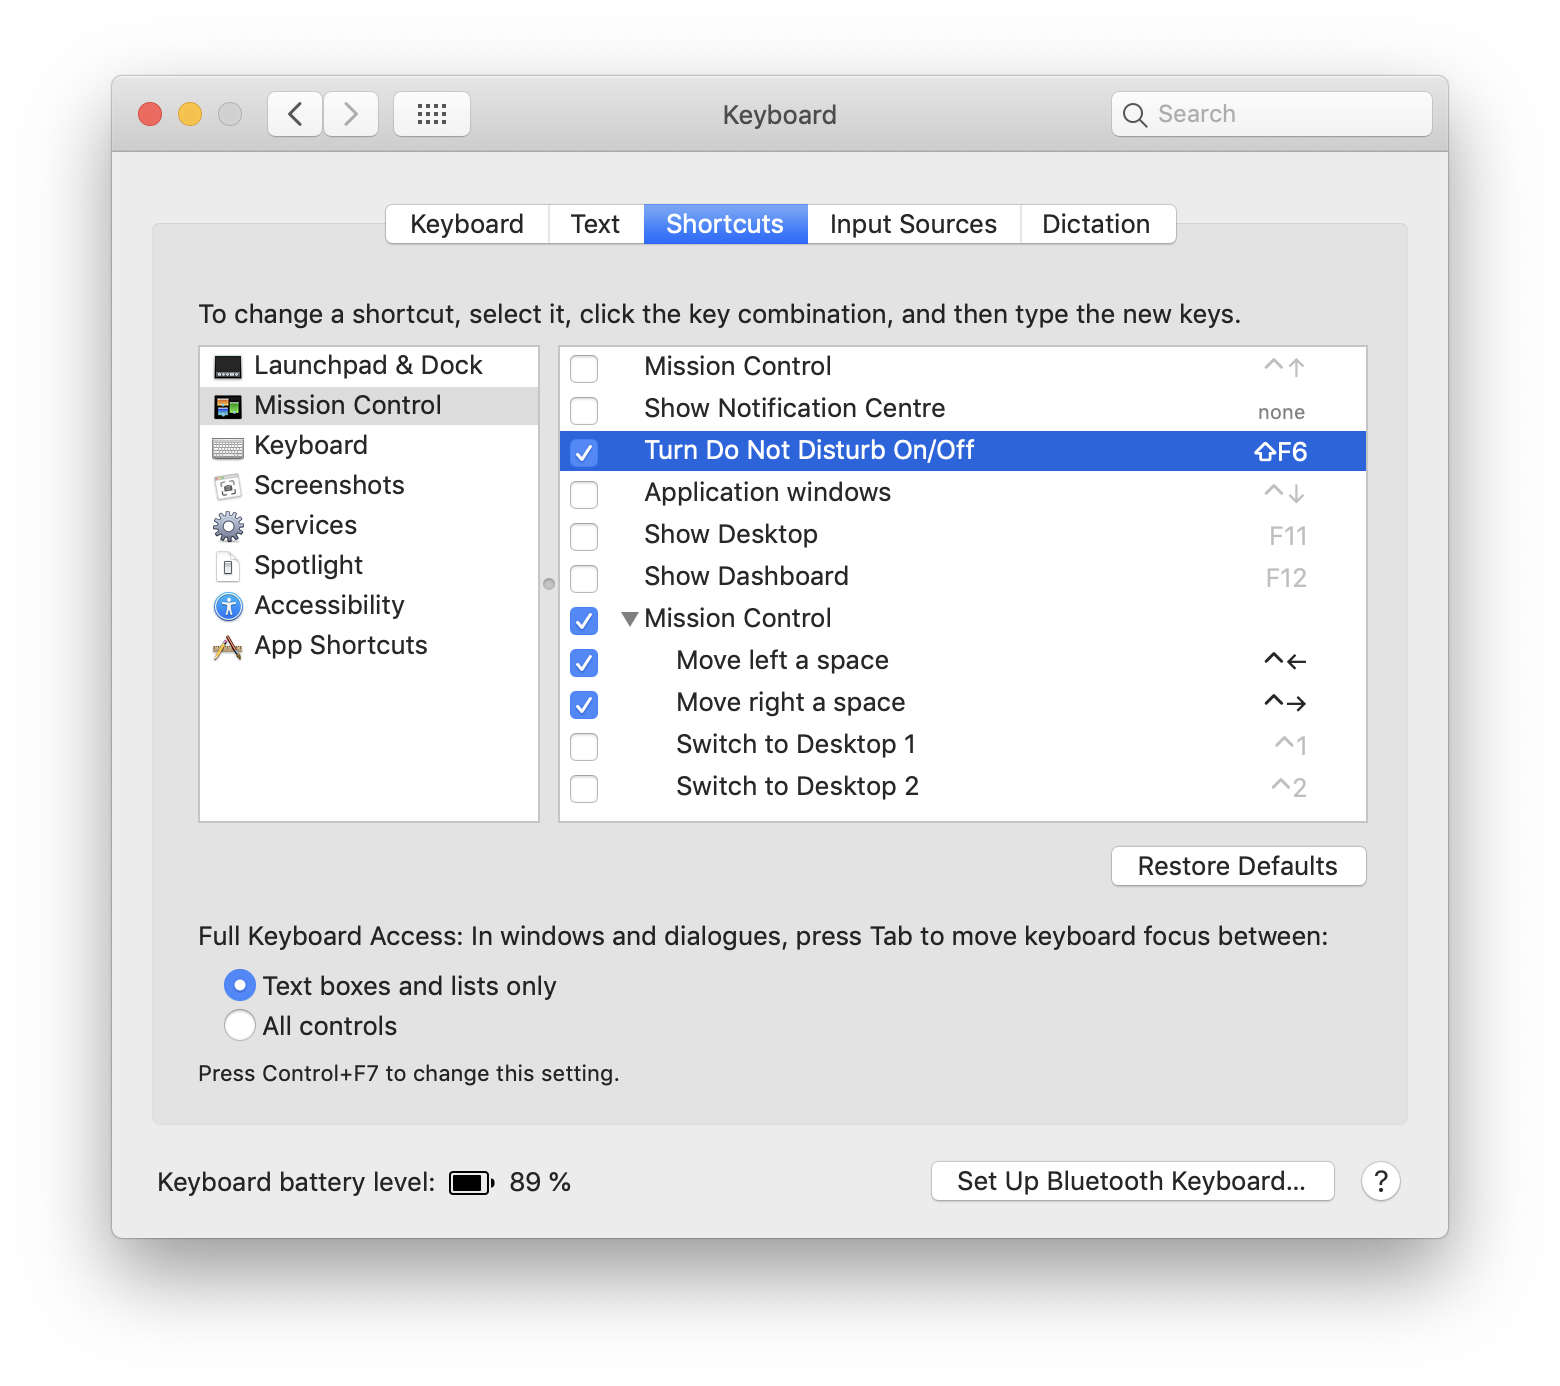
• Go to “Keyboard” and then choose the “Shortcuts” tab
• Select “Mission Control” from the Shortcuts options
• Locate “Turn Do Not Disturb On/Off” and make sure that is checked to be enabled
• Click directly to the right of “Turn Do Not Disturb On/Off” and then press a keyboard shortcut combination to set as the Do Not Disturb keyboard shortcut
In the example (see screenshot), the keystroke combination "Shift F6" was set as the keyboard shortcut for enabling and disabling Do Not Disturb mode. You can set any keyboard shortcut you want for this purpose, just make sure it’s unique and does not overlap with another keystroke combination or feature. Once the keyboard shortcut for toggling Do Not Disturb mode is enabled, you can use it at anytime by pressing the keystroke combination you set in the above steps.
When Do Not Disturb mode is on (the Notification Center icon in the menu bar is dimmed), all notifications and alerts will not show up, but they will still be contained within the Notification Center.
When Do not Disturb mode is off, all alerts and notifications will come through to the Mac as usual, showing up as pop-up alerts in the upper right corner of the screen.


